Installing Modular Products
Technical Talk with Craig Thornhill, Technical Services Manager
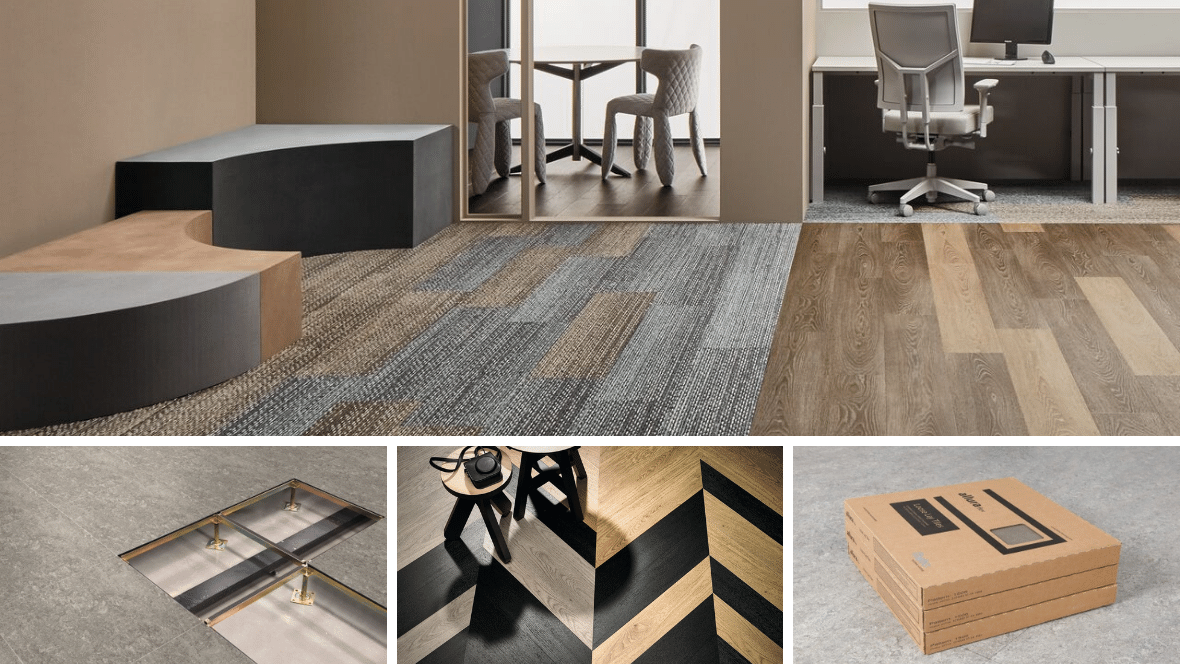
The flooring market has seen a definite design trend move towards a more modular product format. Lots of reasons; easier to move boxes rather than rolls, flexibility in fitting, more practical for modern offices re raised access flooring and ability to create mixed product use and designs.
Modular is the new term for tiles as it encompasses standard square tile sizes but also the new trend in rectangular planks and special shaped tiles such as Hungarian Point. This article will focus on fully bonded or tackified products with the purpose of highlighting common fitting requirements and best practise.

As with all flooring, the appearance, performance and durability of the installed floorcovering will be determined to a large extent by the quality of the prepared subfloor and the conditions in which they are laid.
So, it is important to ensure that correct attention is given to provide a smooth, flat, level and sound substrate on which to fit any modular product in accordance with either BS8203:2017 for resilient flooring or BS5325:2001 for textile flooring.
It is also important to follow any specific installation instructions provided by the manufacturer or supplier.
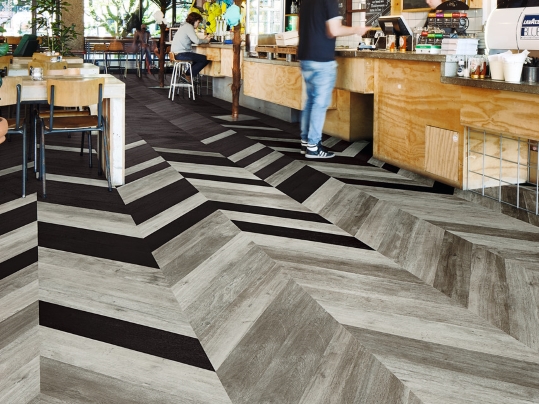
This is important when fitting modular products. British Standards refer to surface regularity and the need to ensure a floor is suitable for the use it is intended to perform. In 2019, the resilient flooring British Standard 8203:2017 added to the summary of the section on surface regularity as it was seen by the standard compilers to be a common marketplace issue that needed clarification.
Section 6.2.3 in the standard has a useful commentary:
‘Surface irregularities can affect the overall visual appearance and wear life of the finished floor, resulting in premature wear, localized soiling problems, loss of bond with the installation of tile products, particularly large format tiles and geometric designs, and potential difficulties with the installation of sheet floor coverings where site-formed cove skirting details are used’
*Published by BSI Standards Limited
For the installer, the comments on loss of tile bond due to movement within the floor surface which can affect all types of tiles, both resilient and textile, is particularly relevant in large installations and when dealing with geometric floor layouts such as herringbone pattern planks. The problem is accentuated when unevenness is spasmodic throughout the installation leading to tiles running out of bond in all directions.
Raised access flooring panels can settle shortly after installation and this should be considered when assessing the appearance of the tile/plank installation fitted onto such flooring systems. Ridges between uneven raised access floor panels will telegraph through to the finished tile installation. Uneven or loose floor panels should be levelled or re-fixed before installing tiles or planks.
Note: unevenness between raised access floor panels will adversely affect the integrity of the adhesive bond and may cause tiles to de-bond, lift or move. Also, incidental low-level light will exaggerate any unevenness in the subfloor. If any doubt exists, the raised access floor should be overlaid with plywood. For example, in accordance with BS8203:2017 for resilient products.
Prior to installation, the tiles and planks must be allowed to acclimatise in the laying area at a steady temperature of 18 to 27ºC for at least 24 hours. This is particularly important if the tiles have been stored or delivered in conditions of extreme temperature and/or humidity.
Always follow the specific guidance of the manufacturer/supplier regarding exact acclimatisation requirements for each product type as these will vary.

Tiles in perfect bond
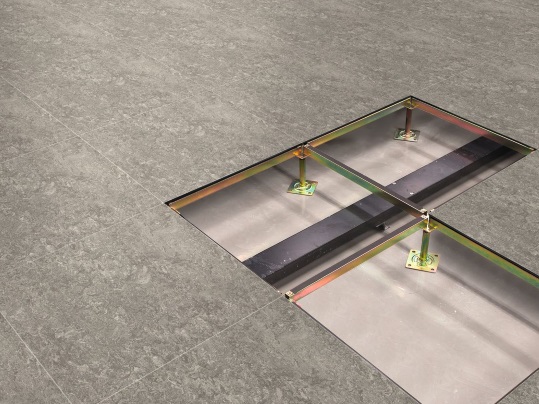
Marmoleum Modular tiles over raised access flooring
As with any floor covering, the use of different production batches will always result in visible shade differences. It is essential that different batches of the same colour are not mixed in the same area. When ordering tiles, each floor area (plus spares) must be specified from the same batch.
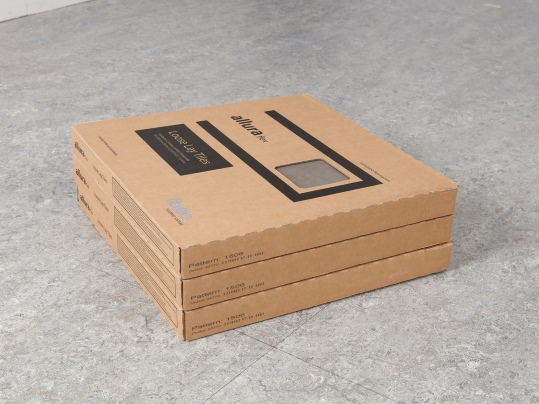
Prior to installation, boxes should be checked to ensure that the correct tile type, colour, batch number and quantity have been received and that the tiles are in good condition. It is likely that no claim will be accepted for incorrect colour, pattern or obvious pre-installation damage if the tiles have been fitted.
The location of the starting point in an installation is usually determined by the fitter to maximize the yield. This may be anywhere in the room but would normally be located as near to the true centre as possible. Small cuts in either the field or perimeter should be avoided. Having established the starting point for the installation, making some check measurements or dry laying a few rows of tiles will help to identify any potential problems or necessary adjustments to avoid small perimeter cuts.
Ensure that each tile butts up to its neighbour as tightly as possible without placing the tile under any pressure which may cause peaking. It is important when fitting tiles and cuts to skirting boards or other fixed perimeters that the tile/cut is fitted to any fixed perimeter without exerting any pressure. Any tiles/cuts fitted under pressure may be subject to lifting from the tackifier adhesive – this will cause loss of bond to that tile/cut and the surrounding installation area.
Note: it is essential that no pile material becomes entrapped between tiles as this will exert sideways pressure on the tiles and may cause lifting or peaking of seams.
The correct starting point for setting out a tiled floor is traditionally the centre of the area - although this may not be the final starting point when tile laying begins. Some adjustment of the starting point may be required, for example, to avoid small perimeter cuts, where the tiles are to be laid with a border, or with designs such as Hungarian Point. In corridors and small spaces, it may be simpler to work lengthwise from one end, using the centre line as a guide.
Begin laying tiles at the starting point, ensuring that the tile is laid exactly along the layout lines. If the first few tiles are not installed accurately, the entire installation will be affected. Lightly roll each row of planks with a hand roller to ensure a firm adhesive bond and remove any excess adhesive immediately.
Note: In a large area, two or more fitters may be placing tiles at the same time. As finger pressure in butting the tiles or planks together may be slightly different, best start from a common point and work away from it to avoid tiles or planks going out of bond.
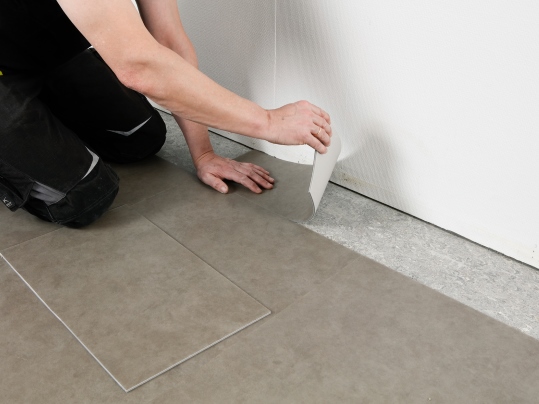
In situations where the tiles or planks are being fully adhered, the time it takes to mark and cut the border tiles must be taken into consideration when planning the installation.
Without adequate planning, it is likely that the working time of the adhesive around the border tiles will be exceeded before the tiles are installed, which will result in an inadequate bond of the border tiles.
The successful installation of border tiles is best accomplished by following one of two strategies:
a. when laying out tile areas, determine the edge of a field tile a comfortable distance from each wall and then snap chalk lines around the perimeter of the room. Only spread adhesive up to this line for the field tiles installation. Spread adhesive and fit border tiles separately
b. plan the sequence of spreading adhesive so that the border tiles can be cut and placed into the adhesive before the adhesive working time has been exceeded.
A current trend is to install a mixture of resilient and carpet tile/planks together within the same area. This can be either as ‘islands of product’, such as breakout areas, or randomly mixed together across one area.
The main criteria here is to ensure that any height variation between the different products is accounted for in the subfloor preparation (if required) or planning. Avoidance of trip hazards is critical to ensure a safe transition between individual areas or over the entire floor surface.
When it comes to stairs, appropriate stair nosings must be used for every tread. Tiles must be bonded securely to the stair tread using a permanent bond adhesive. Tiles to stair risers should be permanently bonded using a suitable contact adhesive.

For carpet tiles, it important that tiles are fitted to stair treads with the pile direction (arrows) facing inwards towards the stair riser and fitted to risers with the pile direction (arrows) facing downwards towards the tread.
There are marks on the reverse of every tile (usually arrows) to indicate the direction of pile lay. The preference of the specifier as to “monolithic”, “tessellated” or other visual effects must be confirmed before tiles are installed. Options for the direction of tile and plank installation will vary between product designs.
Note: the term ‘broadloom’ is often used as an alternative description of monolithic. Whichever term is used, it refers to the installation direction of the carpet tiles. It does not mean that the installation will be viewed as seamless. Tile edges are most visible in new installations. The individual quality of the chosen carpet tiles construction will help to reduce the visibility of tile edges over time (with traffic and regular vacuuming) however, tile edges may remain visible during the life of the product in non or low trafficked areas.
When laying tile or planks in a monolithic format follow the direction of the arrows, which should, where possible, point towards the main light source.
Both full bond adhesives and tackifier adhesives must be spread evenly over the entire floor area with careful attention to edges – this will ensure any perimeter tile cuts are fully bonded. Failure to fully bond all full tiles and tile cuts may result in individual tiles shifting and lifting.
Note: where perimeter tiles are not constrained by fixtures e.g. walls, edge strips etc., it is best practise that such tiles are adhered using a permanent adhesive.
Adhesives must be applied according to the manufacturer’s instructions and it is essential that tackifier adhesives are given time to dry to a clear, tacky finish before laying tiles. Failure to do so could result in a permanent non-release bond.
Note: the tackifier adhesive must be applied with a suitable short pile roller to ensure full contact of the tile backing with the adhesive.
Note: adhesive coverage rates will be reduced on very porous subfloors such as plywood or sand cement screeds. Highly absorbent subfloors such as sand/cement screeds and plywood etc. should be primed.
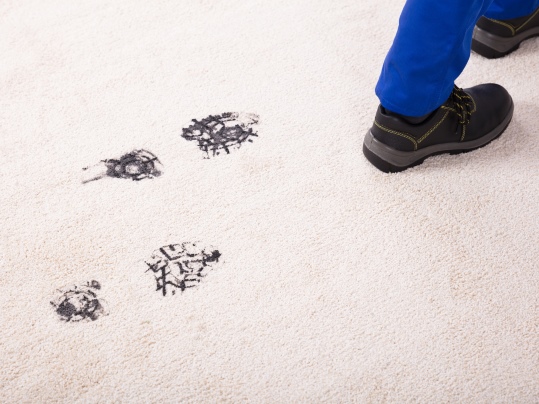
If the floor covering is to be protected from other trades or site traffic prior to project completion, a protection product should be chosen that is appropriate for the type and level of traffic likely to be experienced. Ideally tiles should be protected from dirt and dust before, during and after installation. Failure to do so may affect the performance warranty. When using protective sheeting ensure that all edges are sealed to prevent building debris and dust settling onto the tiles.
Note: ensure that any protective film is suitable for use with the flooring and check any restrictions such as use with underfloor heating or length of time for safe adhesion. Some protective sheet products with a tacky film in contact with textile floor coverings can leave an adhesive residue when removed. This can be difficult to remove and attract dirt when the floor covering is put into use. The potential for this effect should be checked with the protection product manufacturer before use and advice on suitability confirmed.
Note: ensure any adhesive tape residues, particularly on carpet tile pile surfaces, are removed before use.
In closing, whilst this is not an exhaustive list of fitting requirements (these should always be sought from the relevant manufacturer or supplier), this article has tried to highlight some of the key elements to secure a satisfactory standard of installation which will both visually look good and endure for many years. The basic rules of engagement apply to fitting tiles or planks as to any floor covering: ensure subfloor preparation and installation techniques are in accordance with both the relevant British Standard or manufacturers/suppliers guidelines. Failure to do so may result in an unhappy customer and additional costs to rectify.