SPONGING TOO SOON IS THE BIGGEST MISTAKE!
1. Prevent uneven tiling
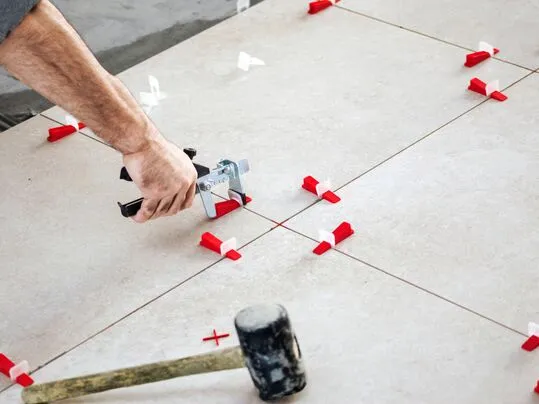
Uneven and/or out-of-flat tiling contributes to the risk of ‘coloured joints’, so always be careful to ensure flat tiling. This can be achieved by levelling the wall or floor first. Doing this is especially recommended for large-format tiles. The various tile levelling systems available are also a handy tool. Only use these to correct small irregularities. The levelling systems are not a substitute for levelling itself!

2. Pay attention to the details
Dirty tiles can be the cause of joint discolouration. Therefore, always clean the tiles before you start grouting. Glue residues in the joints should also be removed. Keep in mind that glue often won’t stick in the transition joints between finished and adjacent tiling. Here the joint will turn darker because more joint material was added to this joint than to other joints. Prepare the grout mechanically with the right amount of water. Covering fresh joints too early stops them having the correct colour. Replace worn grout floats and/or sponge (boards) with new ones in good time. Bear in mind that the suction of the ceramic material side of a wall tile and a floor tile is very different. You often have to deal with a combination of unglazed, partially glazed or fully glazed. This will definitely a slight difference in the final joint colour and has an effect on the right sponging time.

3. Hold back the sponges!
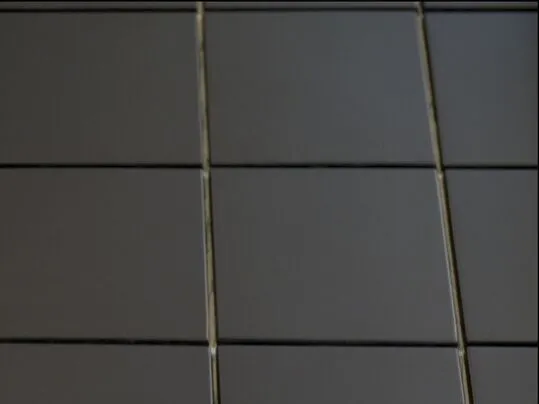
Sponging too soon is one of the biggest mistakes leading to uneven joint colour. Don’t be fooled by the film on the tile that develops during drying, as the grout is still too wet at first. If you’re already about to sponge, the joint will easily be ‘hollowed out’. In these places, water seeps in more quickly and then evaporates. The result is a film that’s lighter in colour than the original joint colour. Result: (local) joint discolouration. Sponging too soon is therefore disastrous! There’s a simple test – as soon as the grout no longer sticks to your finger, you can start sponging.
4. Be careful with water
The trick is to treat the joints with as little water as possible. First dampen the film that has dried on the tiles. Then polish it off (emulsify it) with a circular motion. Change your sponge regularly. The advantage of working with hand sponges is that the amount of water left behind can be dosed much more easily than with a sponge board. Always rub the sponge board once you’ve already passed it over the rollers of the tray. This is the only way to remove excess water from the sponge board. Another benefit of hand sponging is that you can tighten the joints better. You can correct a joint locally by applying pressure with your index finger. Working with the sponge board also has advantages. You can make quicker progress and you hit the joint less, which keeps it a bit fuller. That’s why we recommend using both a hand sponge and a sponge board when sponging.
5. Plan your work smartly
Change your sponge tray regularly and preferably use two sponges and two sponge trays for large substrates – one set to pre-sponge and one to sponge afterwards with clean water. Note: start sponging as soon as the grout is already stiff enough, so that you avoid pulling a grout film over the tiles. Try to hit all the joints with the sponge so as to remove any remaining grout film. Dirt becomes visible more quickly, especially with dark joints, so take it seriously! Plan your work smartly by filling the waiting time before sponging with other activities. Work on larger floors and walls with a small team. Two people start grouting. When it’s time to start sponging, one of the two people starts with the same pace as the other person grouts. When that person has finished grouting, he or she can clean the tools, fetch clean water, and so on. Depending on the scope of the work, that person can start sponging immediately or after a short waiting time. In this way, you can work calmly without time pressure and achieve the best results with evenly coloured joints!