INSTALLING UNDERFLOOR HEATING: 5 EXPERT TIPS
5 tips for installing underfloor heating
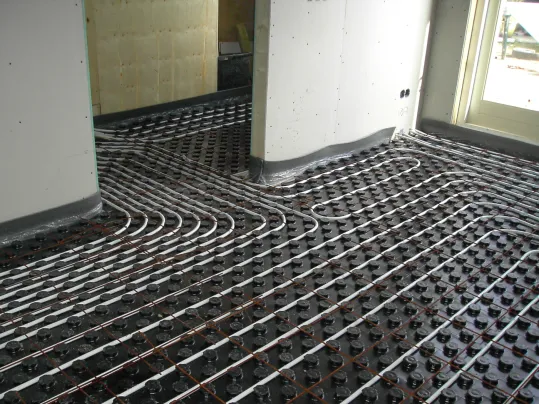
Installers of underfloor heating often don’t give enough attention to the installation height. This can lead to detailing problems. In practice, we regularly encounter situations where there is insufficient coverage above the pipes, which can lead to damage. Here are 5 useful tips to keep in mind.

1. Minimum coverage
For optimal heat output, a minimum coverage of 25 to 30 mm on the pipes in the screed is necessary. If the coverage is smaller, less heat is emitted, so the temperature in the room is less easy to control.
2. Prevent cracking
Due to thermal changes in length, there’s a greater chance of cracks forming in the screed and/or levelling layer, resulting in detachment and drawing through in the floor covering. To minimise this risk, it’s very important to apply edge strips (minimum 5 mm thick) around the screed and/or before levelling the floor. In addition, you need to increase the underfloor heating slowly (max. 5 °C water temperature per day) and regularly to bring it up to temperature. Always follow the installer’s startup protocol before finishing the floor further.
3. No warmer than 28 °C
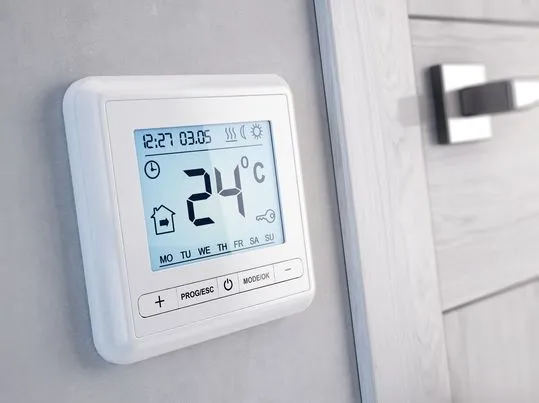
In some areas, the temperature can become too high, causing linoleum, rubber or PVC floor coverings to become deformed and detached. Therefore, with this type of floor covering, don’t allow the screed surface to get warmer than 28 °C.

4. Refurbish with 021 Euroblock Reno
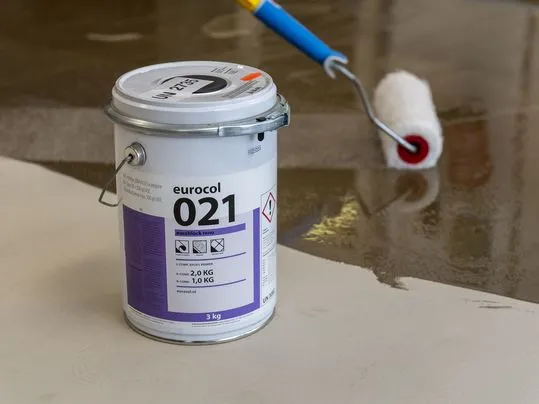
Any damage can be repaired as well as possible with 021 Euroblock Reno, if necessary in combination with 846 Quartzsand, 808 Eurojoint Connector or 063 Eurotape. Adding 811 Reno Fibres to the levelling reduces the risks significantly.
Please note that no matter how well a repair is done, it’s no guarantee for the future.

5. Prevention is better than cure
To prevent this type of damage, it’s a good idea to refer to the standards and rules for installing floors with underfloor heating. Take a look at NEN 2741:2001/A1:2008.nl or NEN 2742:2007.nl. The TBA (Technisch Bureau Afbouw) also provides clear information, such as BA guideline 2.1 Heating and cooling protocol for underfloor heating in calcium sulphate or cement-based screeds, or BA guideline 2.2 Guideline for installing bonding screeds with underfloor heating. Of course, you can also consult our Technical Advice department or your technical-commercial adviser.
Startup protocol for underfloor heating
Underfloor heating is increasingly popular a heat source. and with good reason, because – in addition to lots of comfort – underfloor heating also offers a number of advantages. It’s sometimes wrongly assumed that it’s expensive to install and use. Nothing could be further from the truth, because underfloor heating represents an affordable choice in both existing and new buildings. The energy consumption is often considerably lower than heating with radiators, hot-air heating or convector ducts. The PDF file includes an article where we discuss the different systems and how floors can be finished with linoleum, PVC, carpet, wood, laminate or tiles. Underfloor heating and a good floor finish go well together!
Heating and cooling protocol for underfloor heating in calcium sulphate or cement-based screeds:
It’s very important to follow the heating and cooling protocol before further finishing of the floors. In most cases, this is prescribed by the installer of the underfloor heating system. If that’s not the case, we refer you to the Bedrijfsschap Afbouw heating and cooling protocol. These guidelines briefly and clearly describe the information that you need to implement this in practice.