| Tools | : | Stanley knife. |
| Storage | : | Protect against sunlight and high temperatures. |
| Moisture resistance | : | Moisture-resistant and therefore also very suitable for use in swimming pools. |
* The mentioned values have been established in our laboratory and must be considered as guidelines in view of possible variations in climatic circumstances, subfloor compositions and layer thickness.
Substrate:
- 800 Eurosheet WPM is suitable for almost all walls and floors that are clean, dust-free and grease-free, flat and dry.
- Prime the moisture-absorbent and lightly sanded-down walls with 099 Dispersion Primer.
- Degrease closed surfaces such as existing tilework and prime with 051 Europrimer Quartz.
- If necessary, flatten out stony walls with 658 Wandoforte or 955 Wandostuc.
- Gypsum plaster must have a layer thickness of min. 10 mm according to the manufacturer requirements.
- If the cement-bonded underfloor is not sufficiently flat in a dry room, it should be levelled with 990 Europlan Direct. In wet rooms, use 923 Europlan Extreme. Level anhydrite floors with 920 Europlan Alphy.
- Always consult our technical product information sheets. When in doubt about the use of the product, please contact our Technical Help Desk first.
User manual:
Installation instructions 800 Eurosheet WPM:
Step 1:
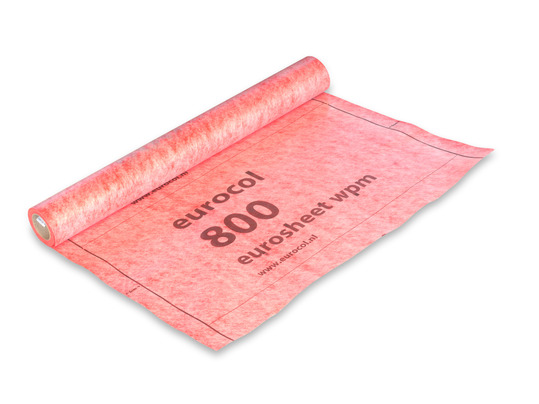
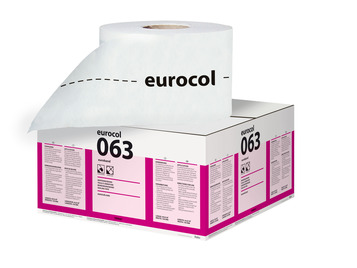
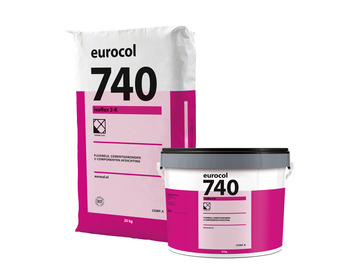
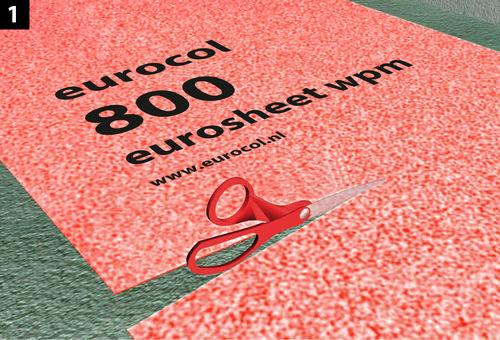
Draw up a job plan and shear or cut the 800 Eurosheet WPM to size. Finish the wall/floor and wall/wall connection watertightly with 063 Eurotape/685 Eurocoat or 683 Fibrecoat.
Step 2:
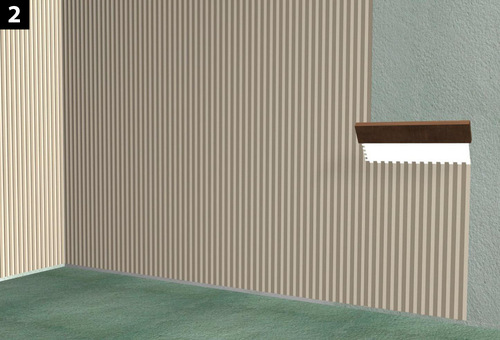
Apply 705 Special Adhesive/709 Superflex or 686 Supercol/685 Eurocoat (moisture-absorbing walls) evenly to the surface with a 4x4 toothed adhesive trowel. Comb the adhesive in 1 direction. This makes it easier to smooth out.
Step 3:
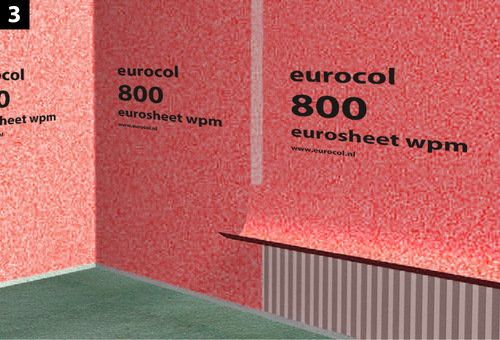
Then place the waterproofing cloth on the surface without wrinkles and press down the cloth gently. Then smooth out the adhesive beads under the cloth and the air from underneath, from the centre of the strip. Remove excess adhesive and then place the next strip. Make sure that it overlaps by at least 5 cm for good watertightness.
Step 4:
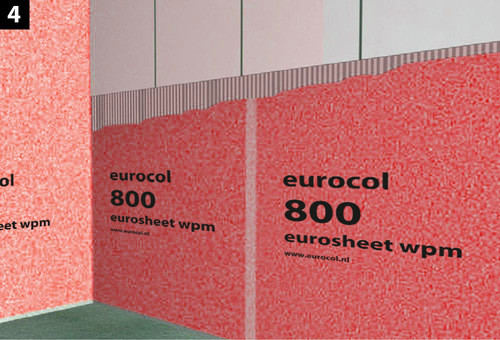
Then apply a beaded adhesive bed over the entire surface to glue the tiles into it. Adhesive moisture-absorbing wall tiles (with an absorbent shard) with a paste tile adhesive. When bonding floor tiles to walls or floors, use a cement-bonded powder tile adhesive. Press the tiles into the fresh adhesive bed with a sliding movement within 15 - 20 minutes. Check often that the backs of the tiles always come into full contact with the adhesive. The choice of teeth (see illustrations) must be such that a minimum adhesive contact area of 60% for walls and 80% for floors is achieved (evenly distributed over the back of the tile). For outdoor applications and swimming pools, this must be 100%. Remove excess adhesive from the joints immediately. The prepared adhesive must be processed within 60 minutes. Do not add extra water to mortar that is already bonded!
Step 5:
In normal conditions, i.e. a temperature of 20 °C with relative humidity of 65%, the tilework can be grouted after at least 24 hours with 706 Euro Grout Special WT or 717 Eurofine WT.
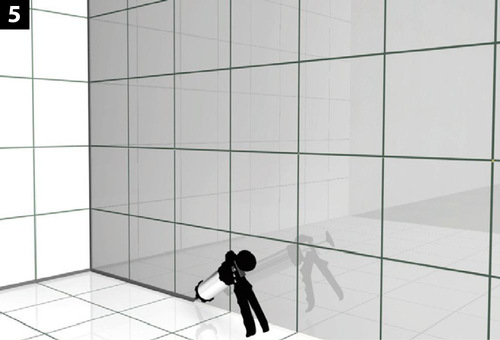
Keep the internal and external corners free of tiles and grout cement, as well as around frames, pipe outlets etc. and seal them with a suitable, permanently elastic grout kit such as our 880 Euroseal Silicone. Durably seal joints around shower drains and/or shower channels with our 881 Euroseal Epoxy, a fast-setting sealant based on 2-component epoxy.
